
In progress of enhancing the Woods Runner

Rearranging the bed of the Woods Runner
C10 Woods Runner - Flip that truck season 1
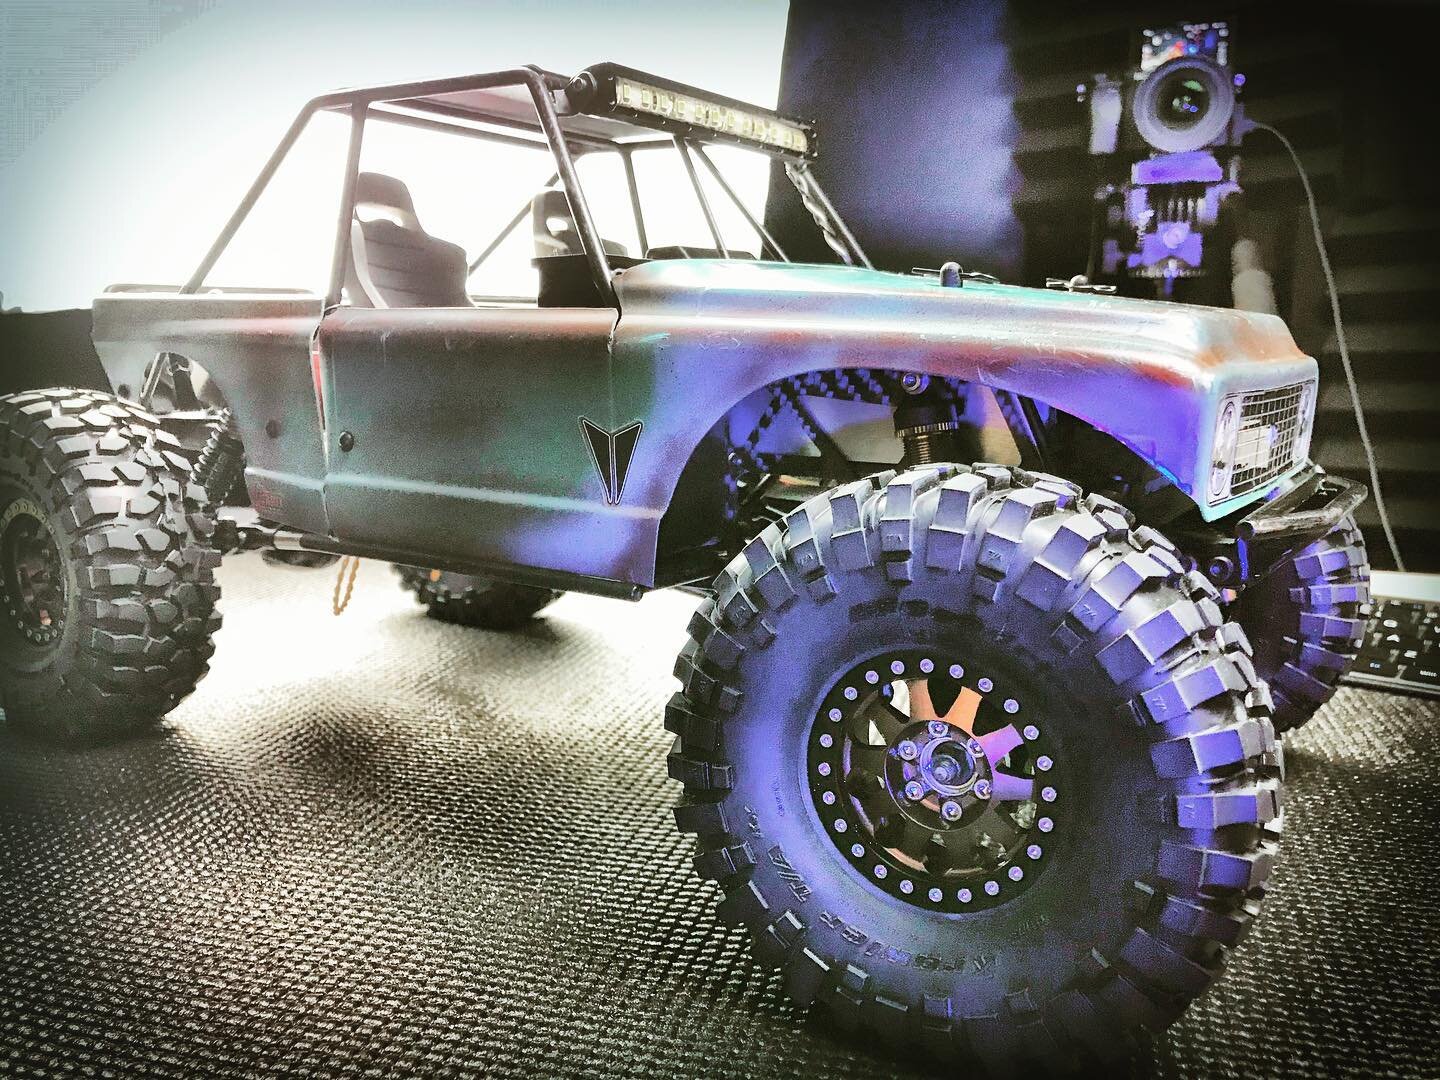
i came to own this vehicle at the conclusion of season 1 of Flip that Truck. This truck was built by DS Fab Works from the south east US. When I received it, it did not come with wheels and tires. I added my own Vanquish Method 101’s and Proline Krawlers to complete the initial product. From there, I have been going thru almost every detail of the truck to bring the level of quality even further. The cage work on this build is some of the best, top quality work. The areas that needed work were the rest of the parts.
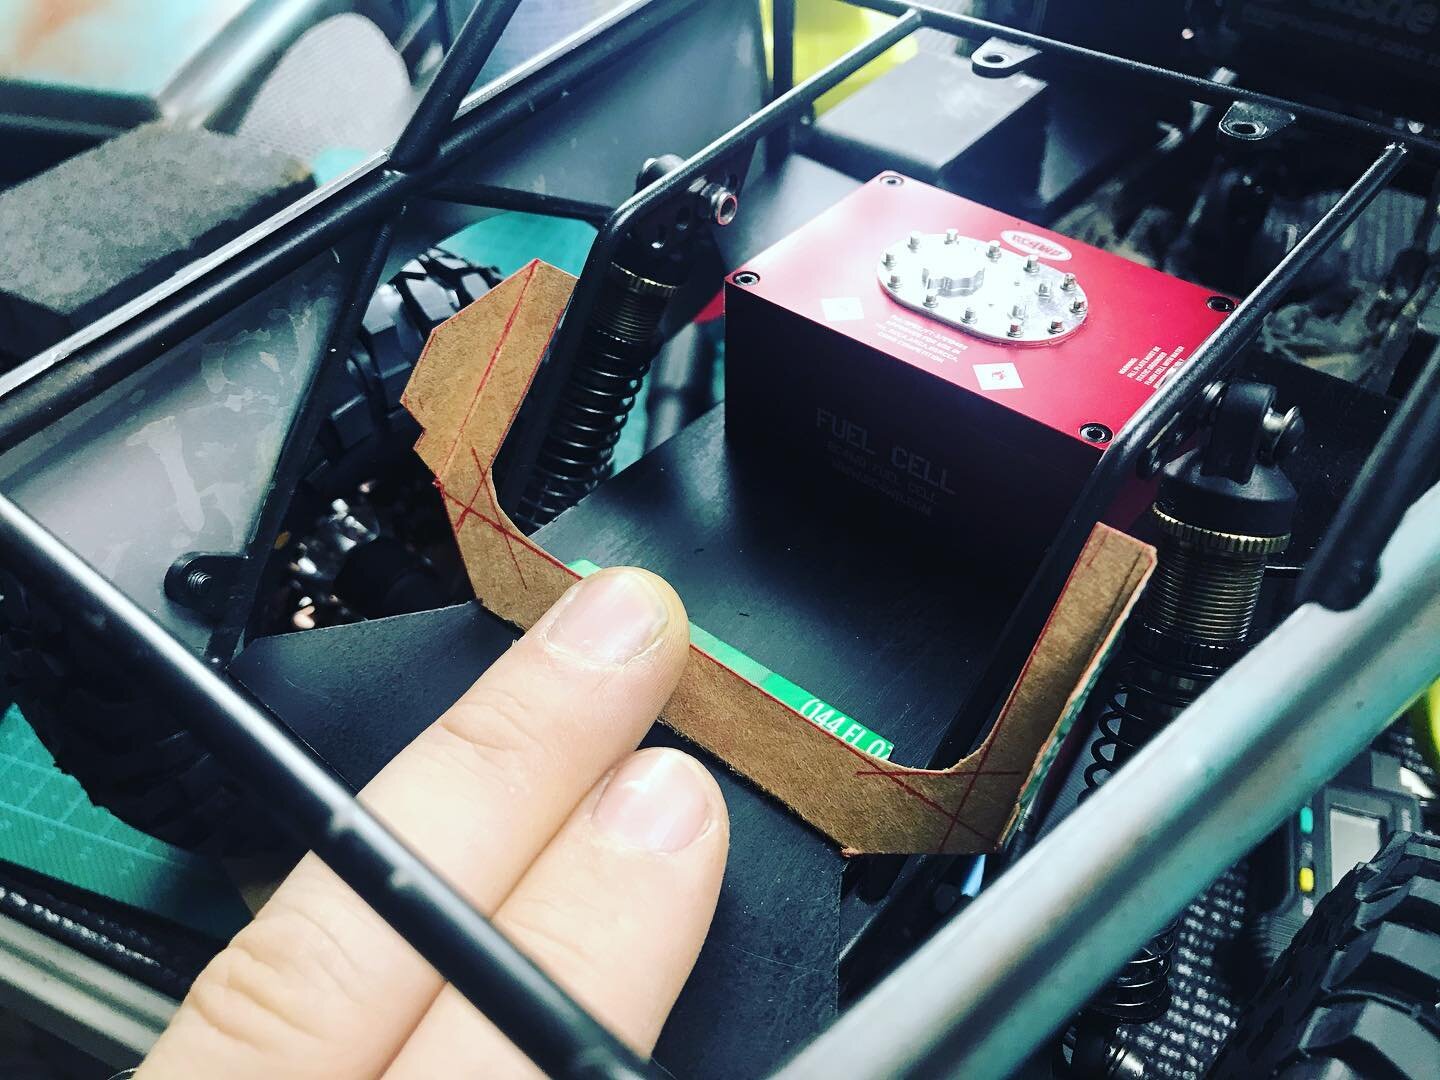
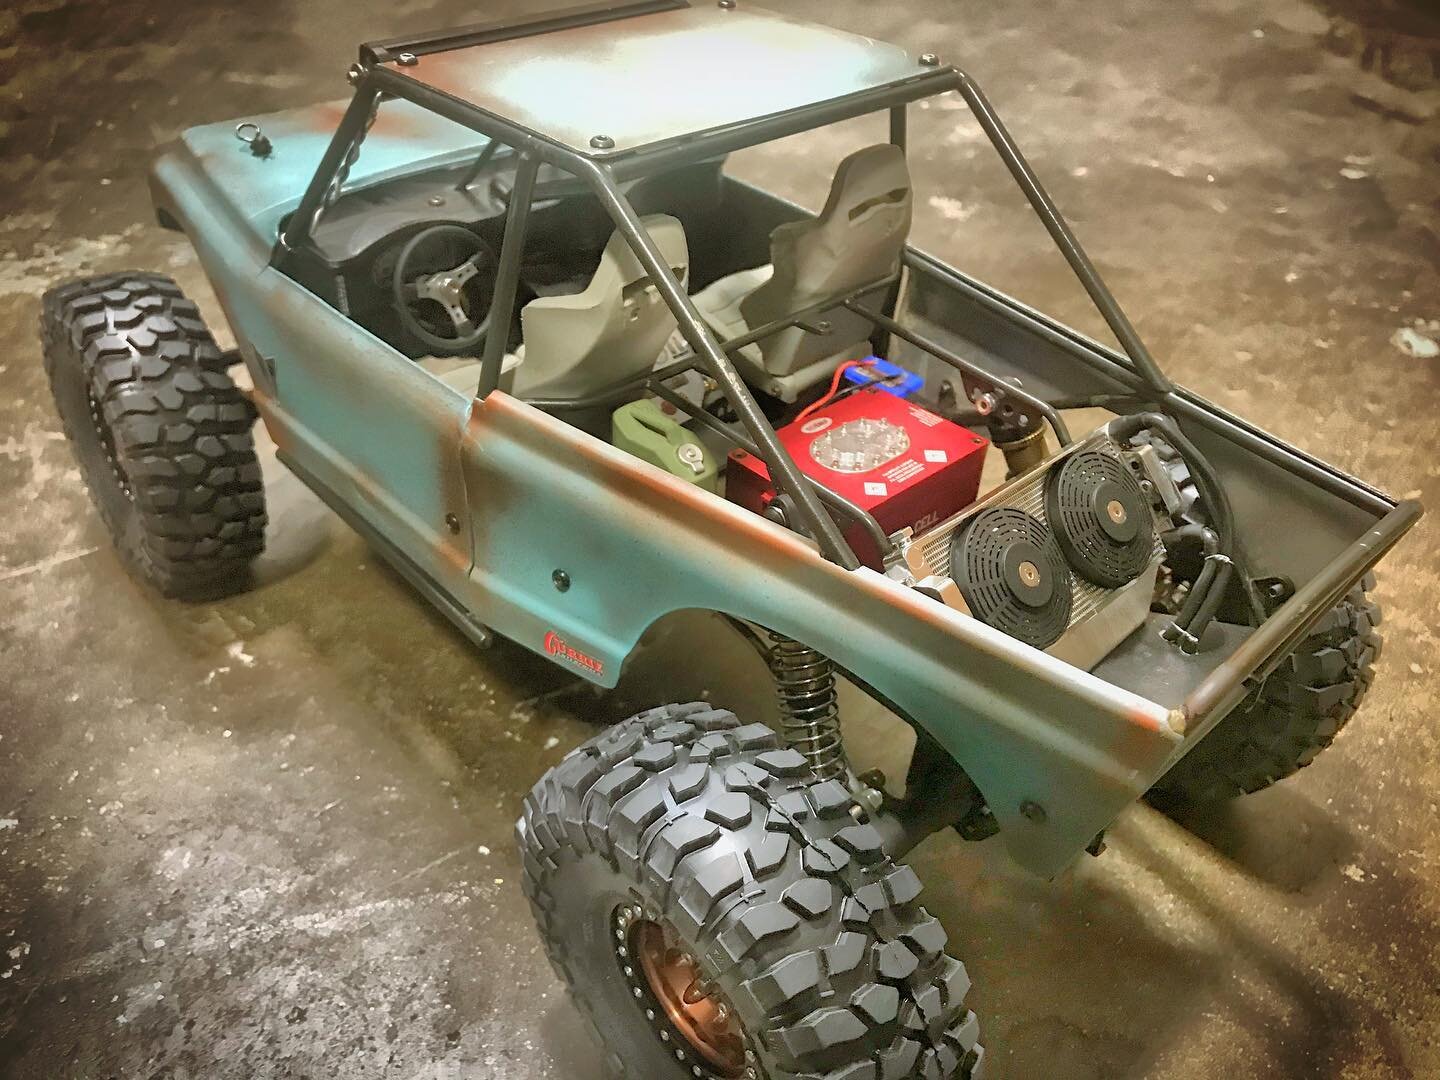
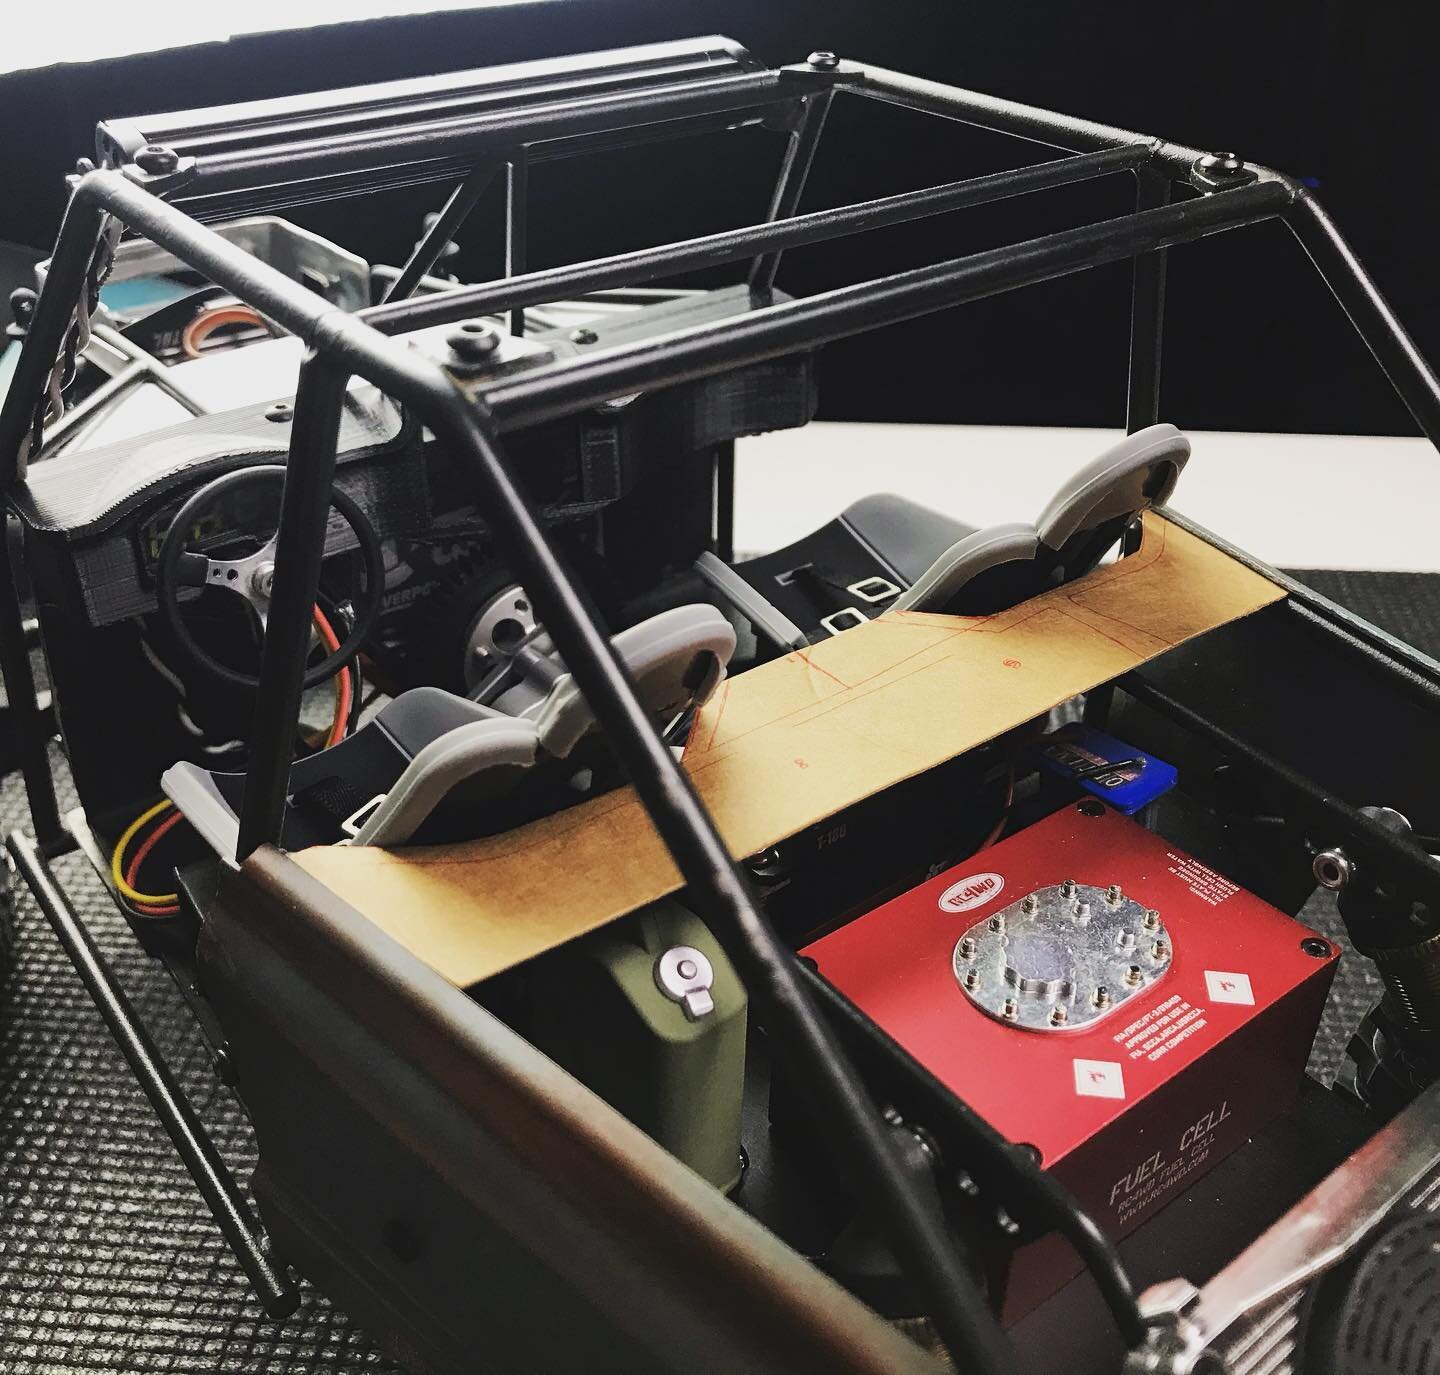
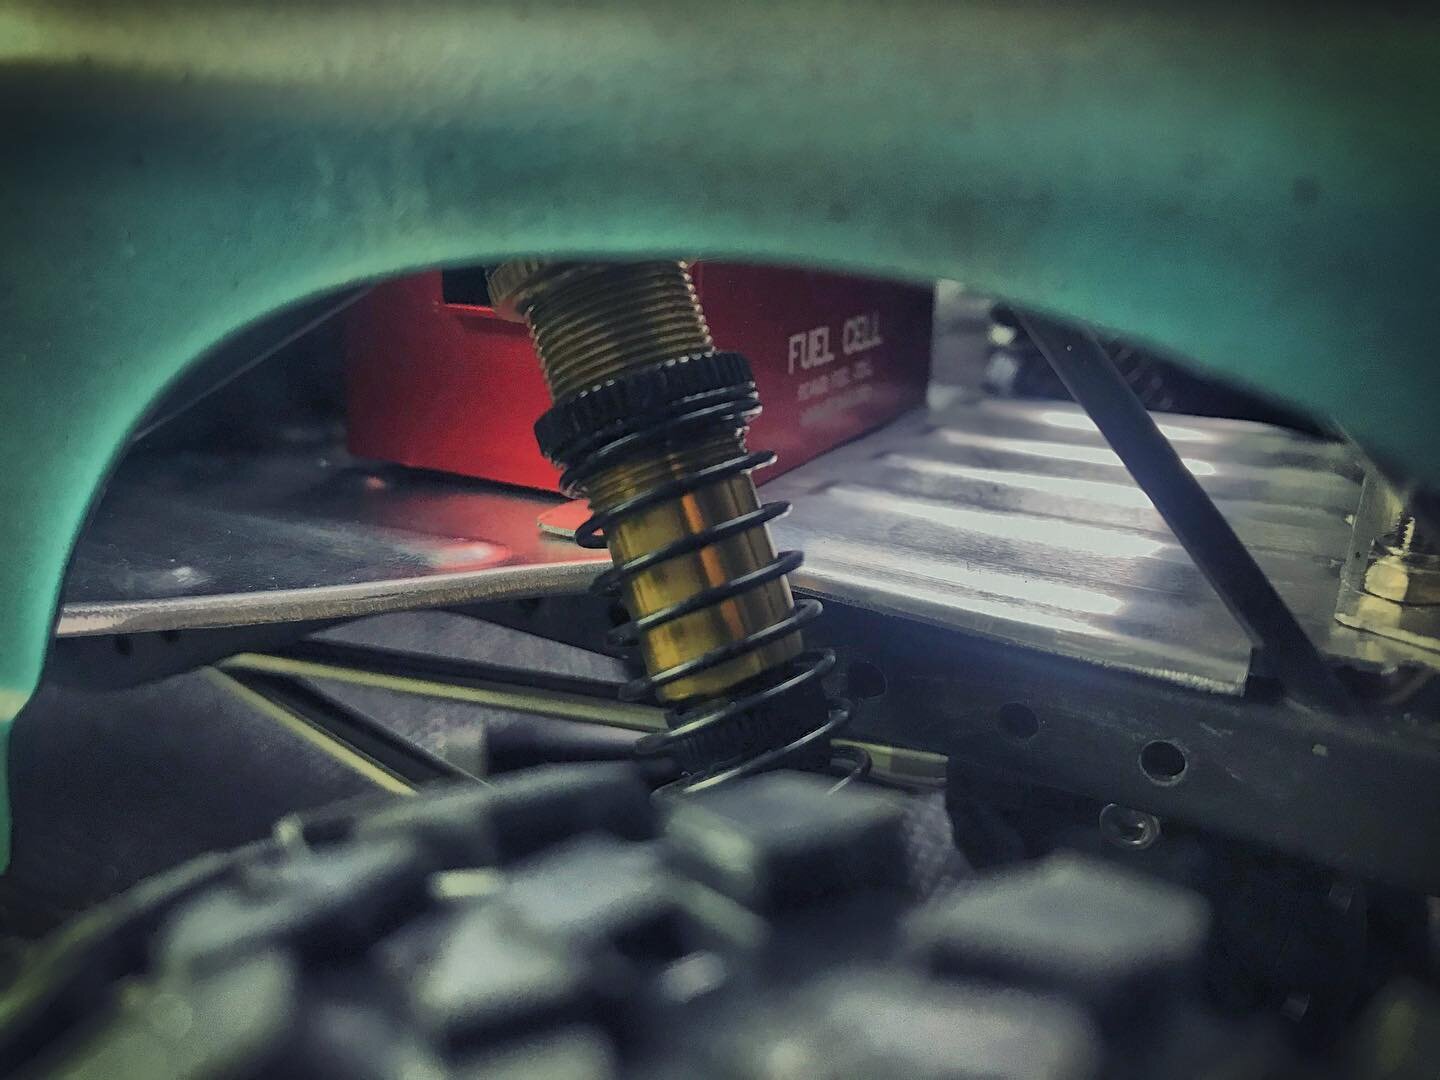
Many of the parts on this build were the best available but others were just parts bin recycles. It had Vanquish D44 axles but they were connected to the chassis with a mix and match of Axial links. The seats were made by Xtra Speed and had clearly been carved on for clearance in a previous build. The cargo area had a very nice RC4WD fuel cell, an old Axial Exo radiator, a low detail 3D printed battery and a jerry can. The transmission was built with a Vanquish transmission case but the driveshafts were a mismatch of Axial and MIP.
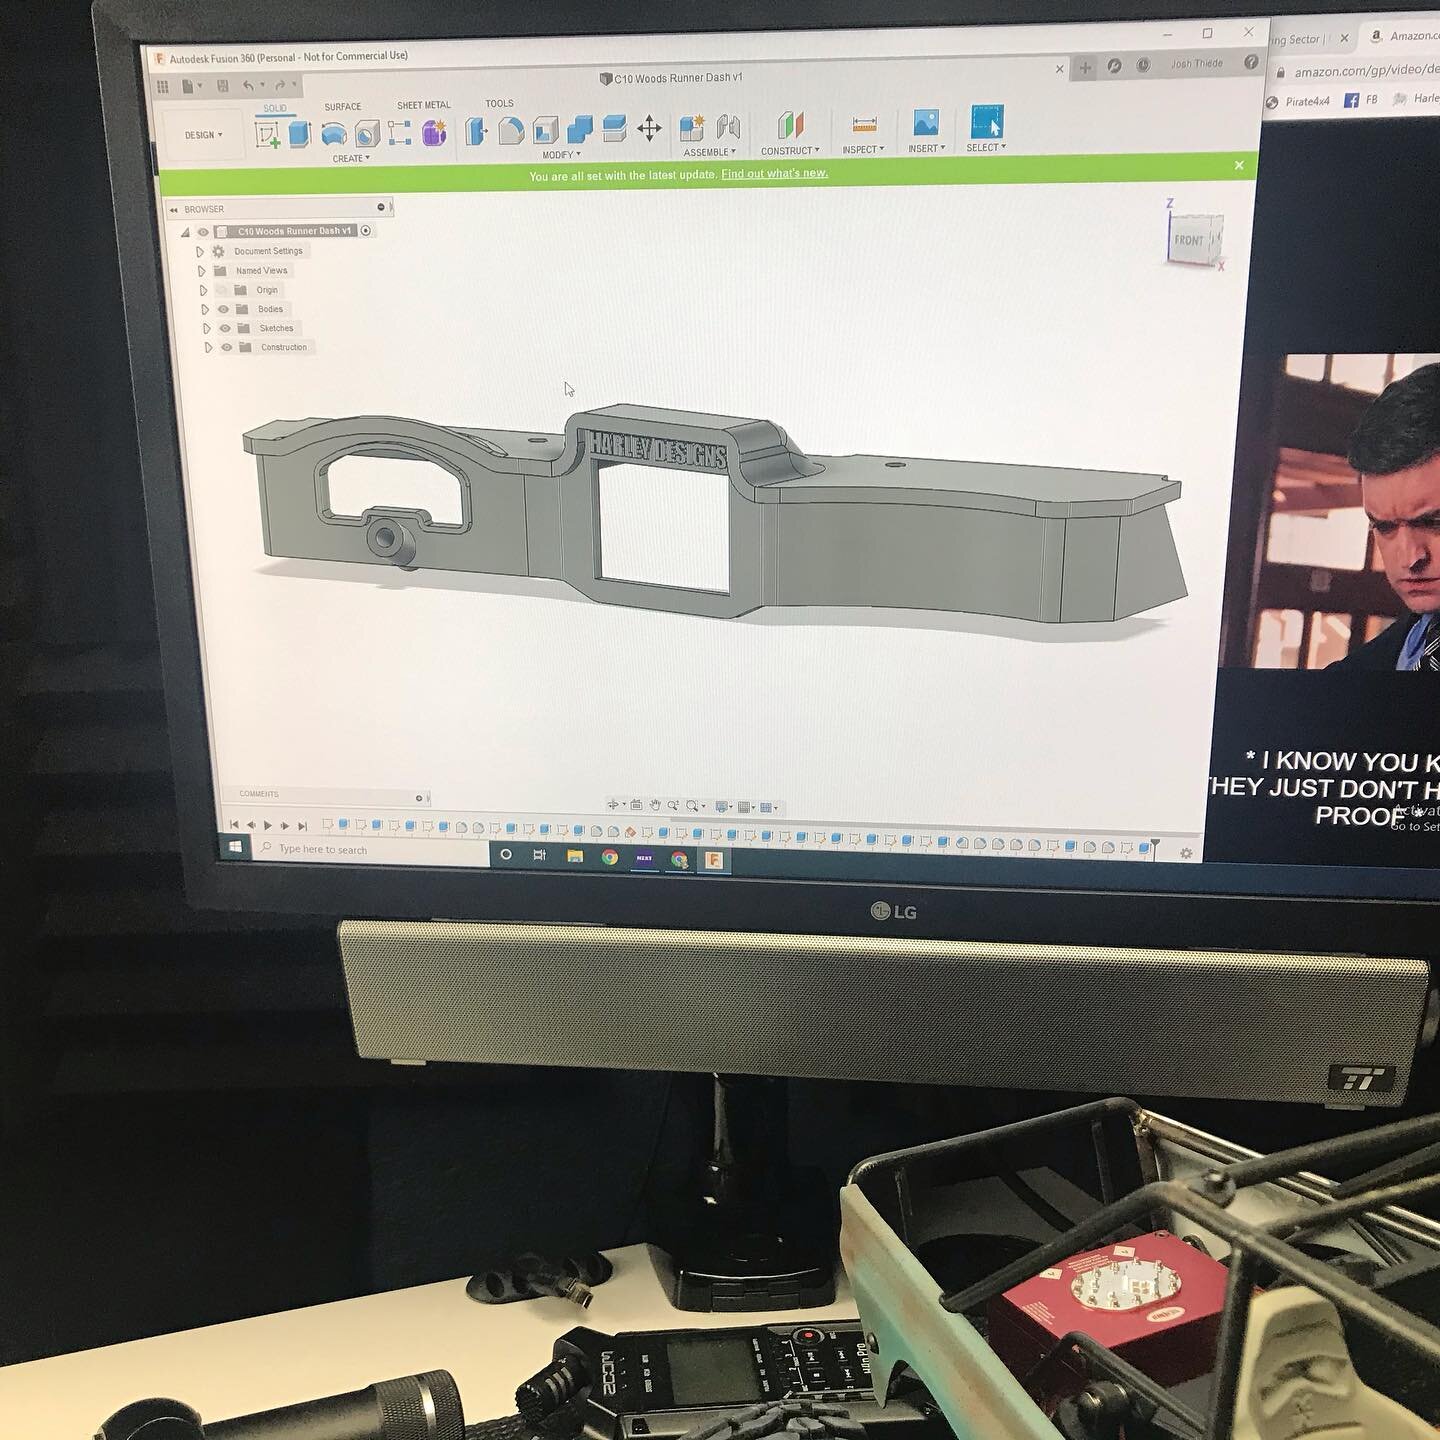
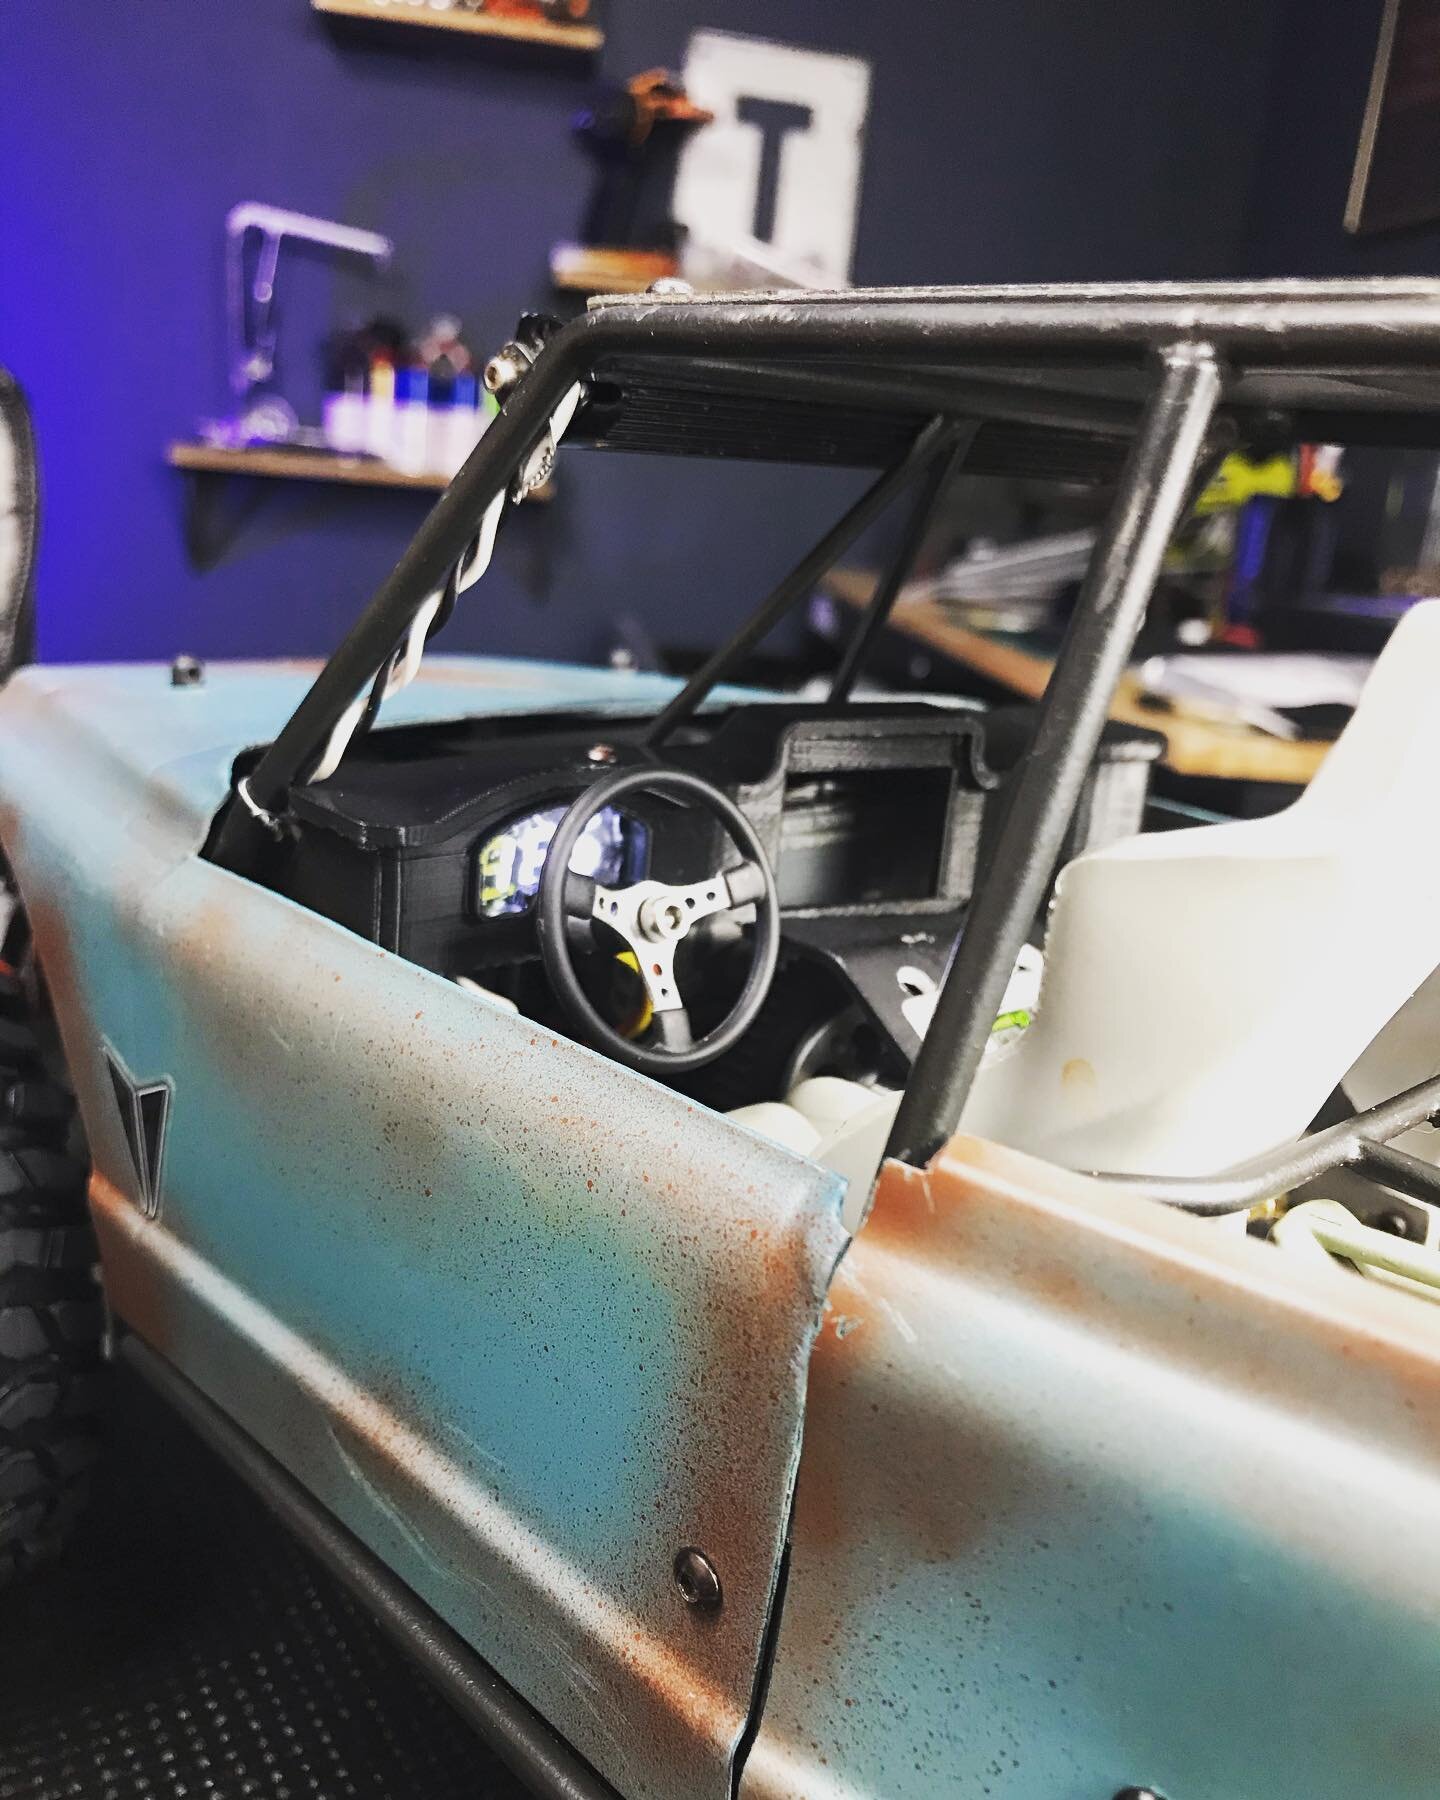
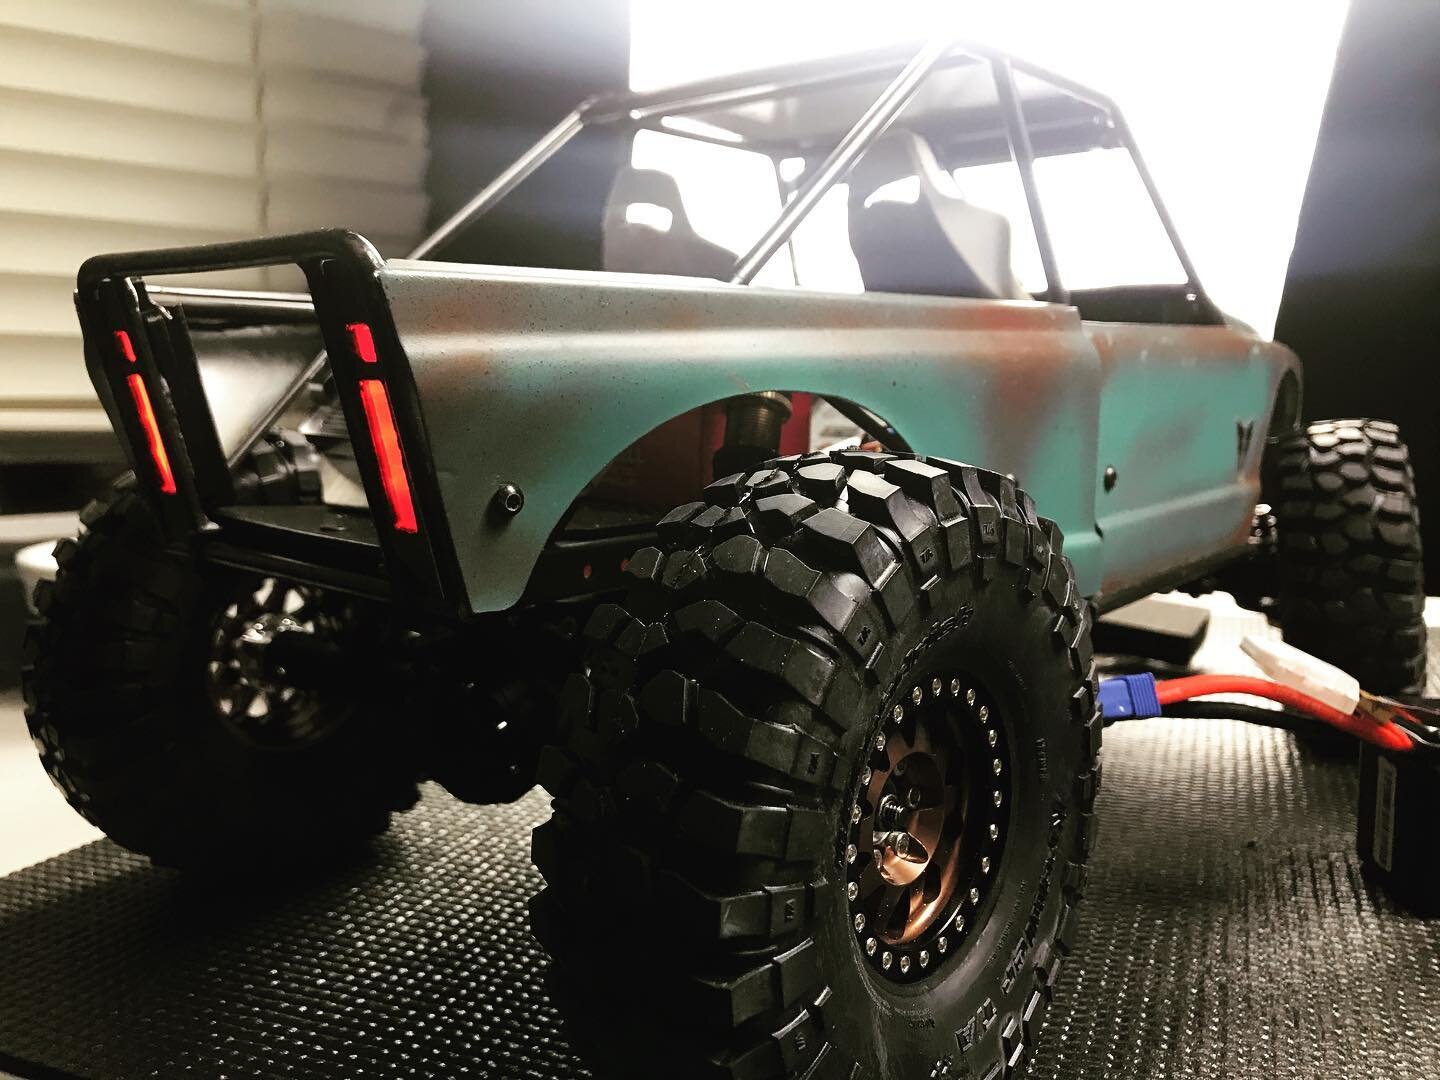
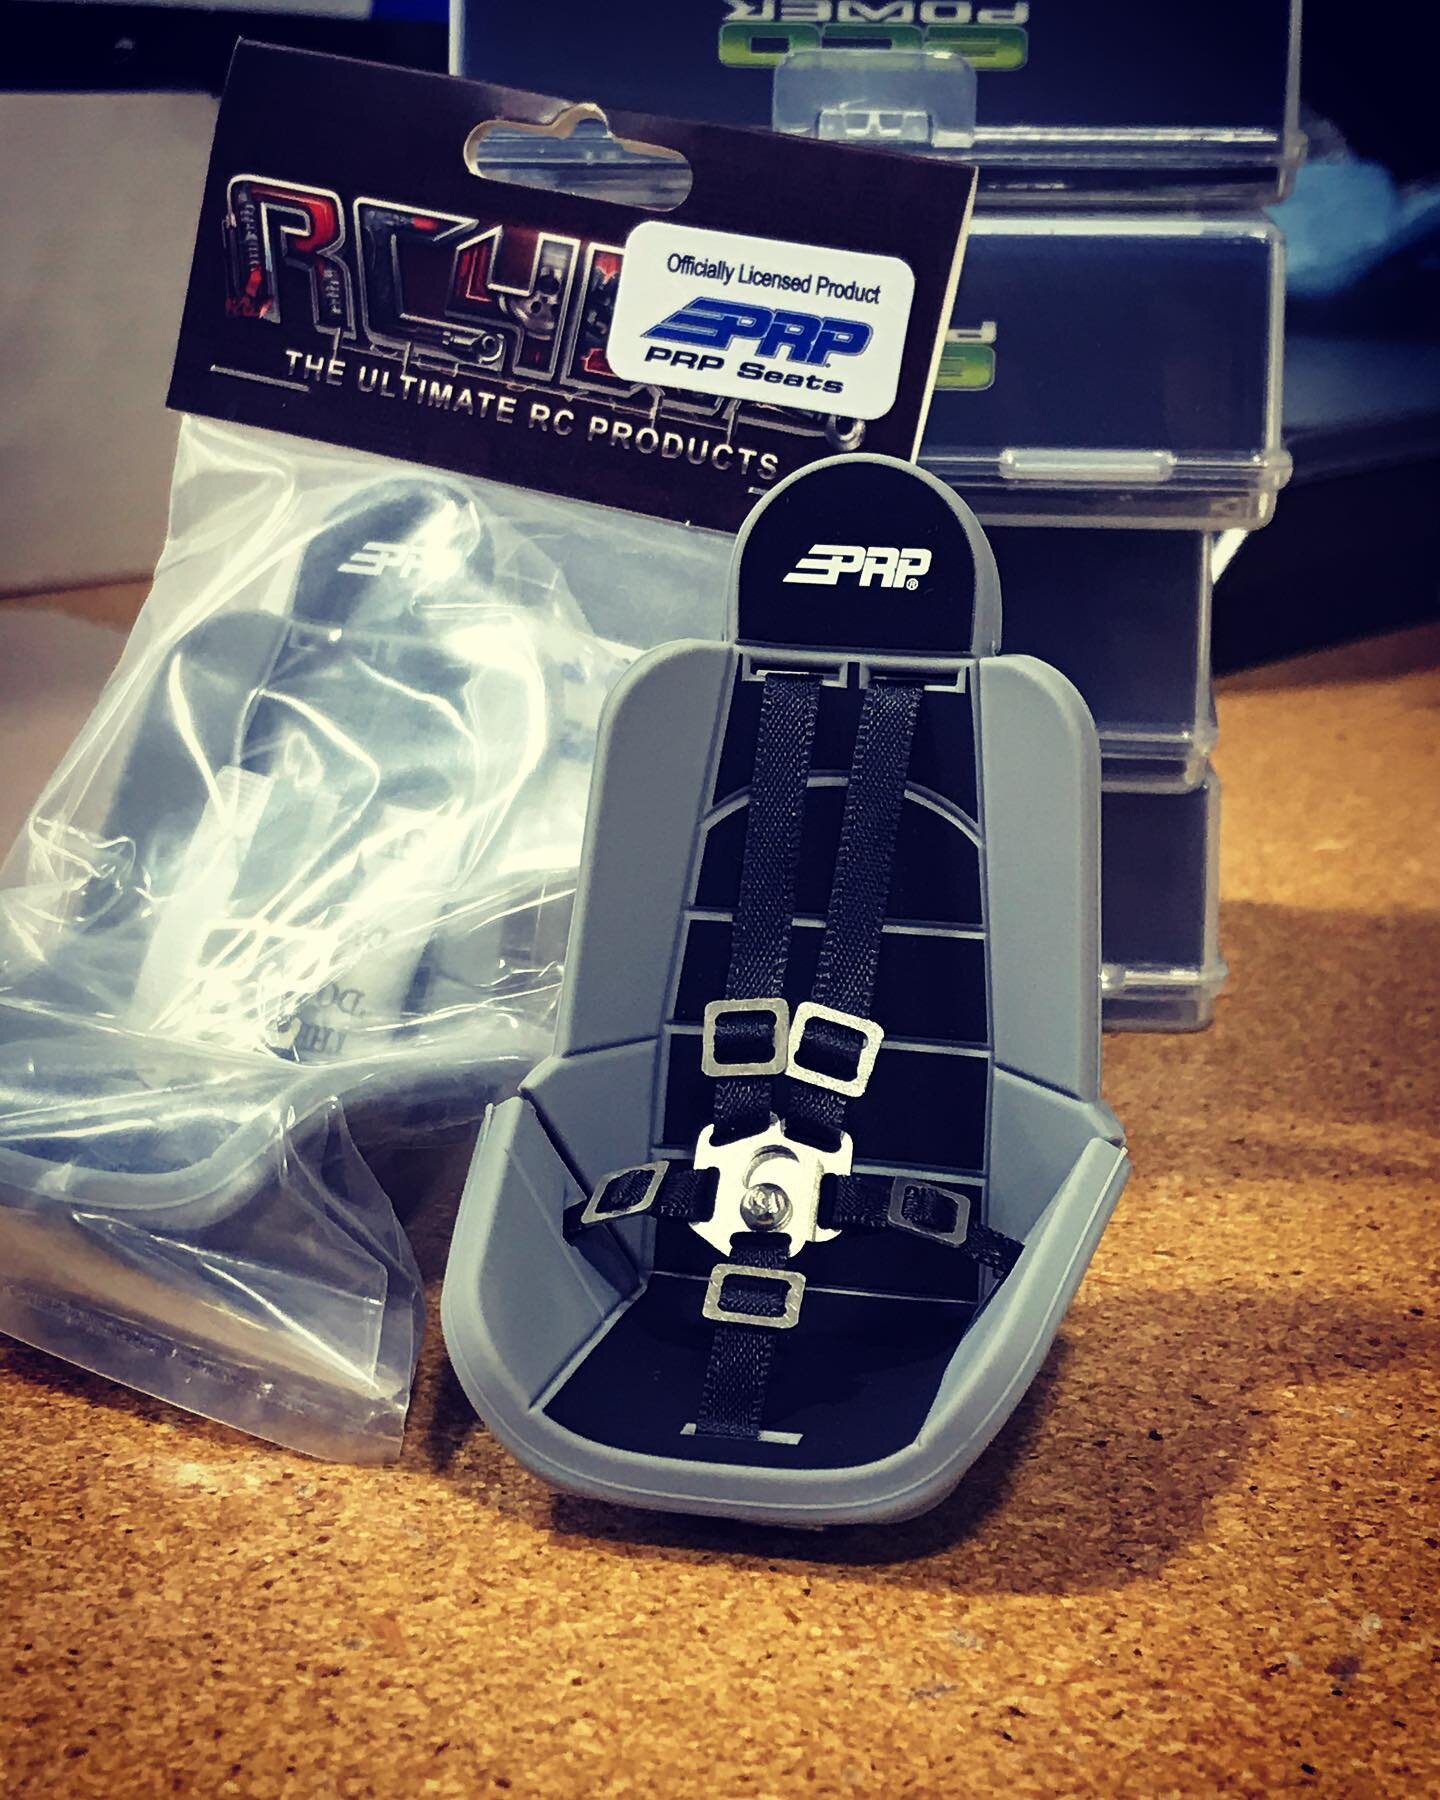
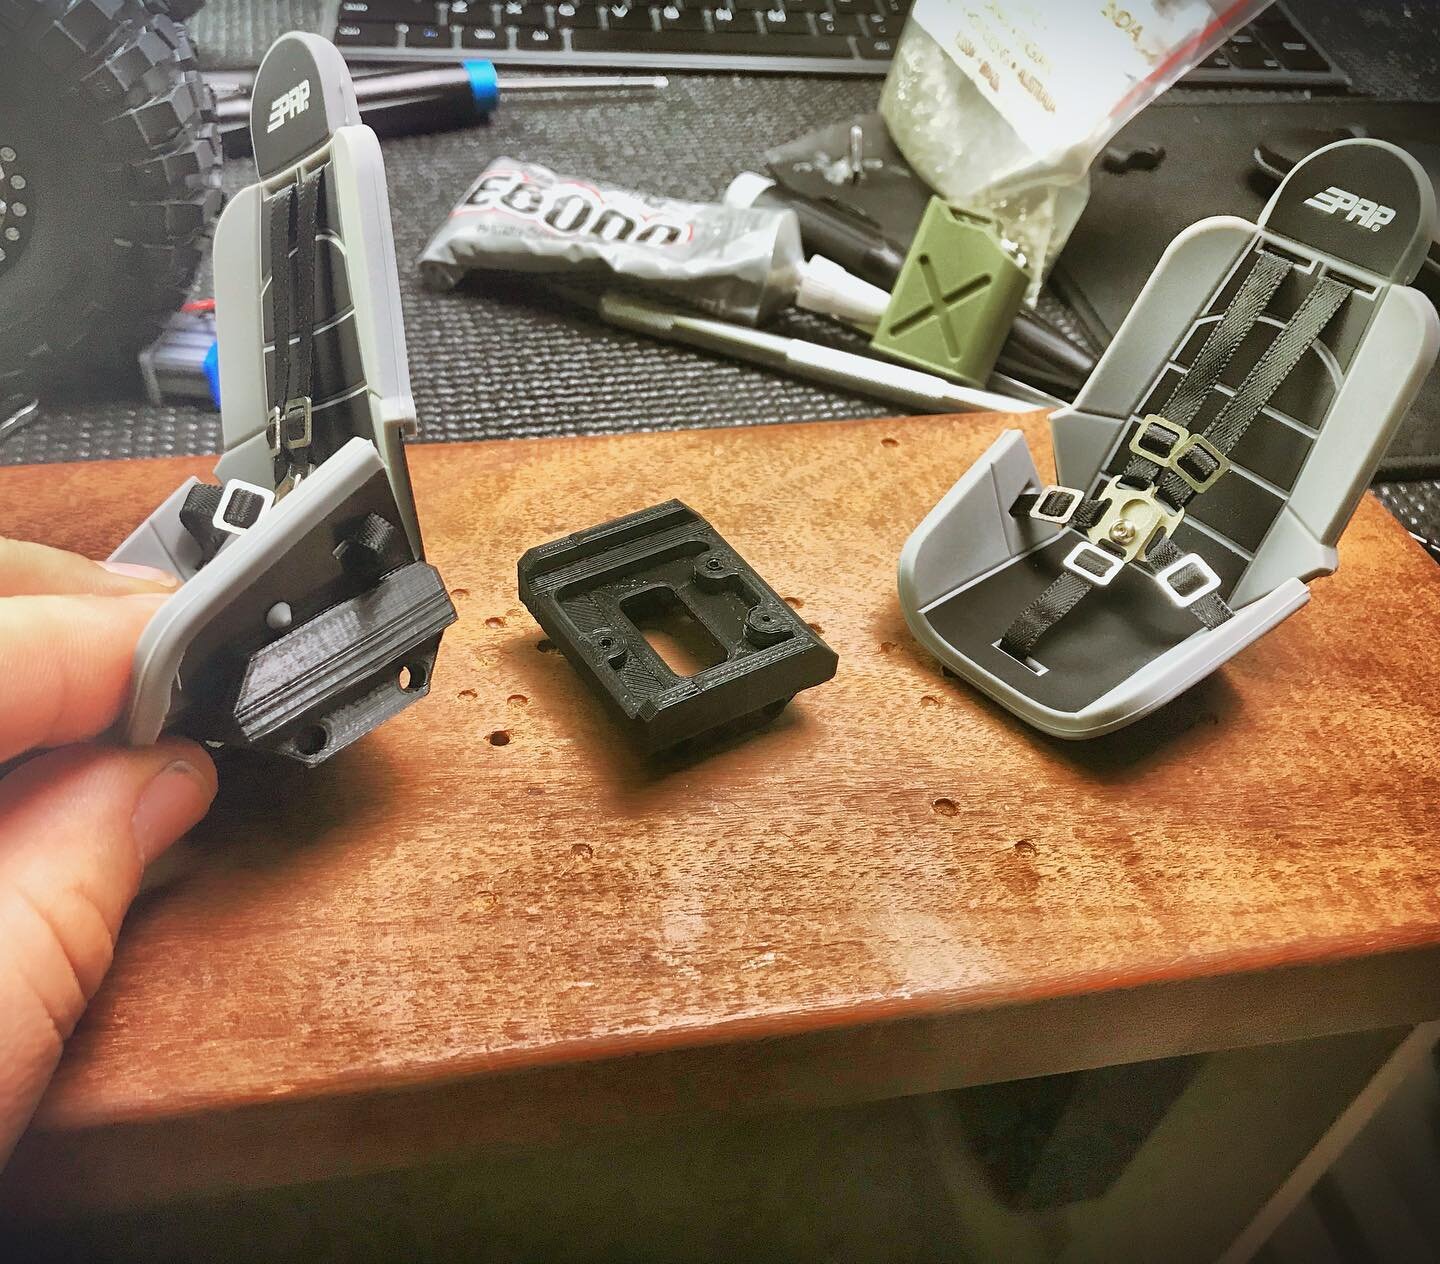
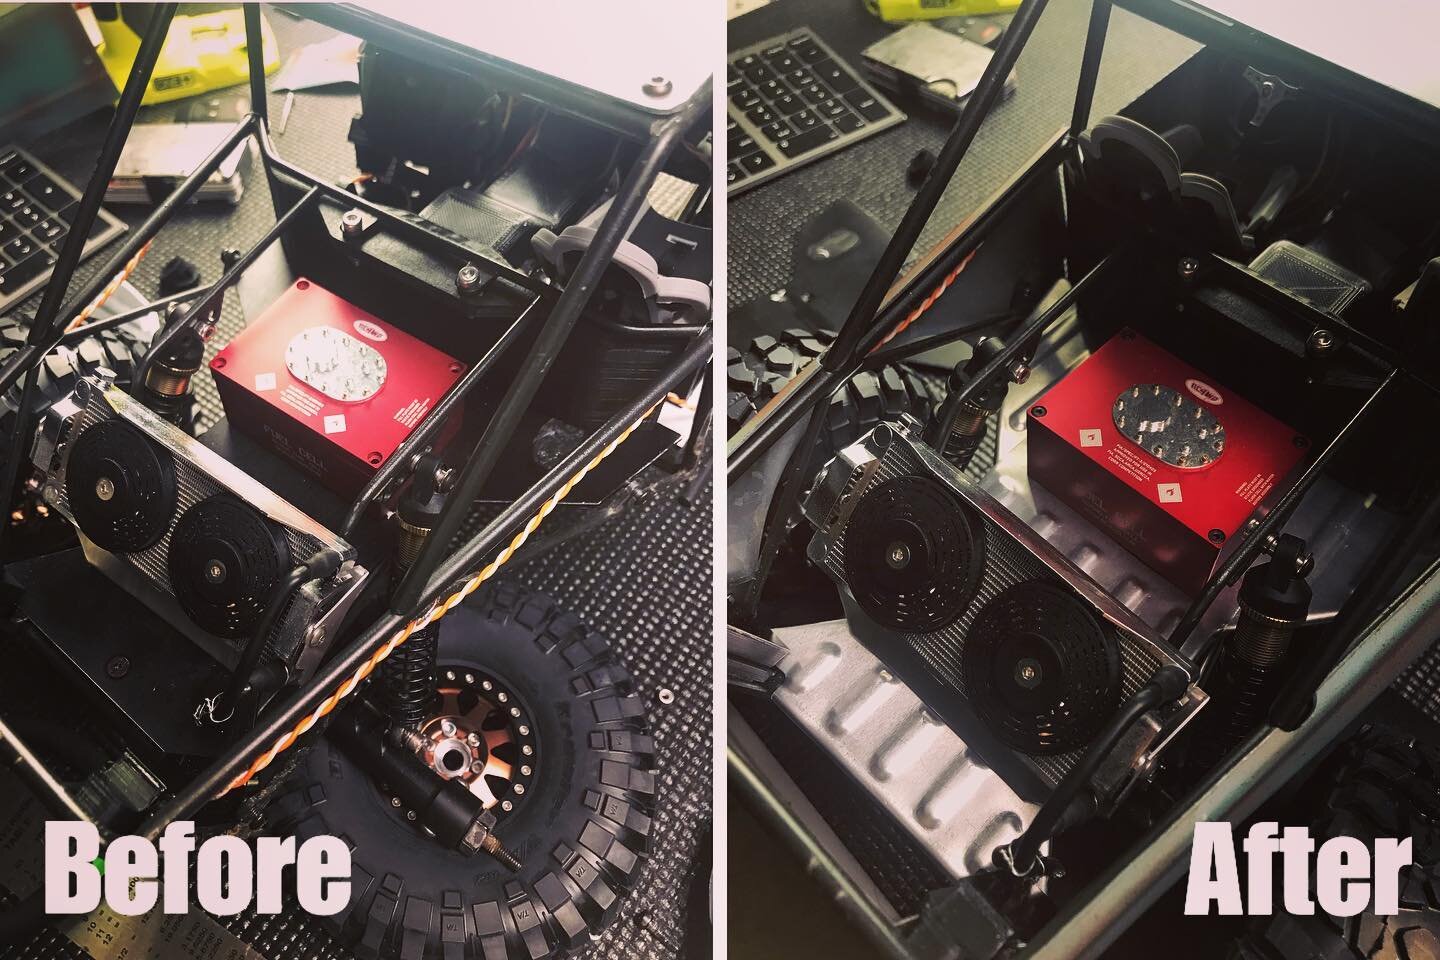
After receiving the truck, I really started to dig into the details. I gutted the interior, redesigning and replacing almost every single part. I went thru the process of 3D modeling the replacement panels I wanted to use so that I could add some intricate details and shaping. The seats were replaced with some licensed PRP Seats from RC4WD. The seats were then mounted with a 3D printed design that allows for quick removal for access to the transmission. A new dash was designed and 3D printed, it includes a RacePak style gauge cluster which hold a voltmeter behind it. The rear of the truck got some designed tail light bezels that hold 1” LED strips for tail lights.
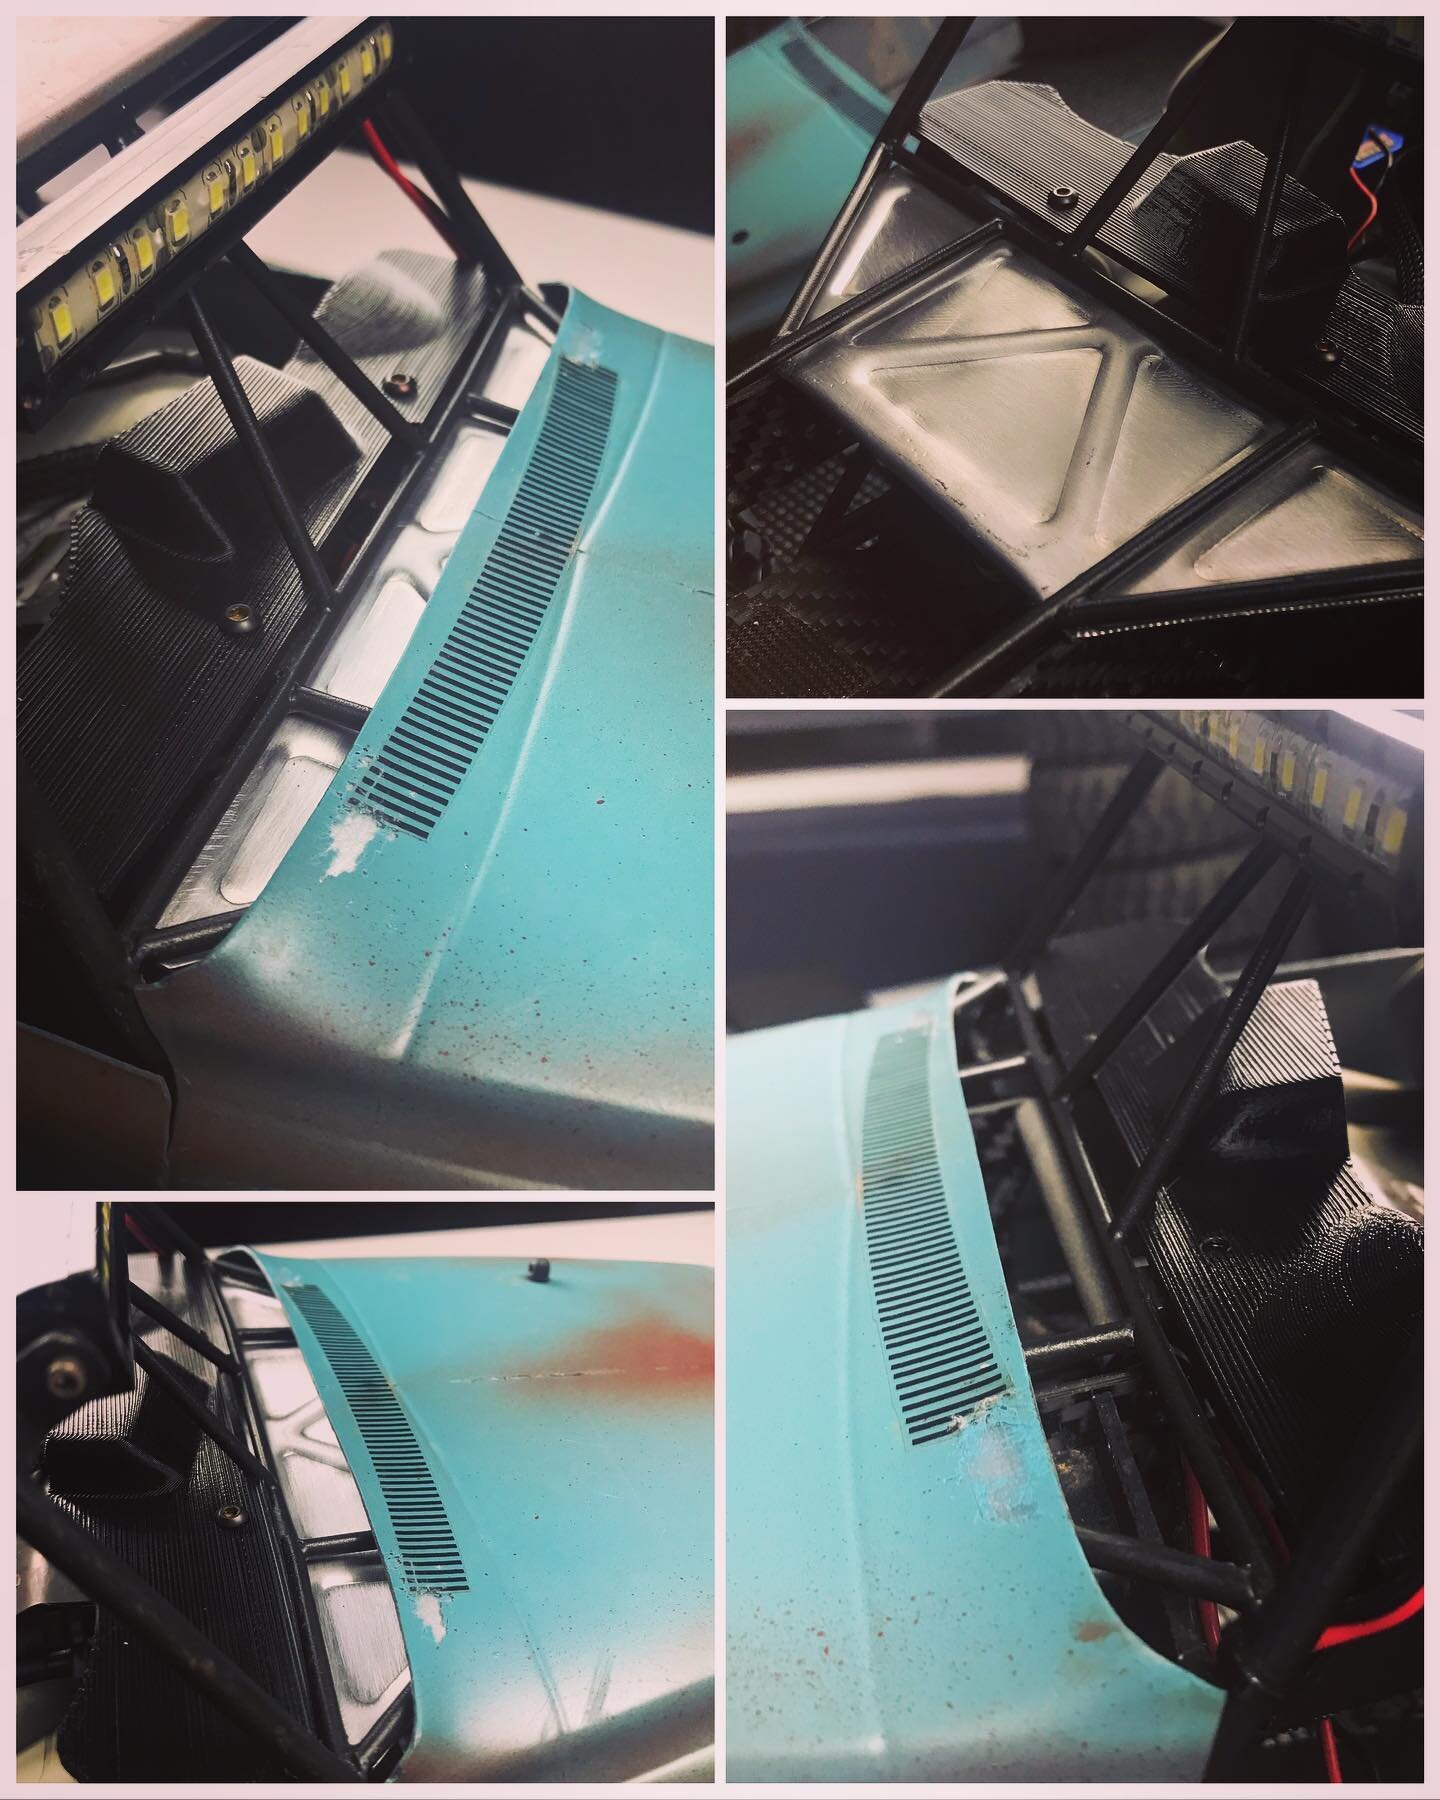
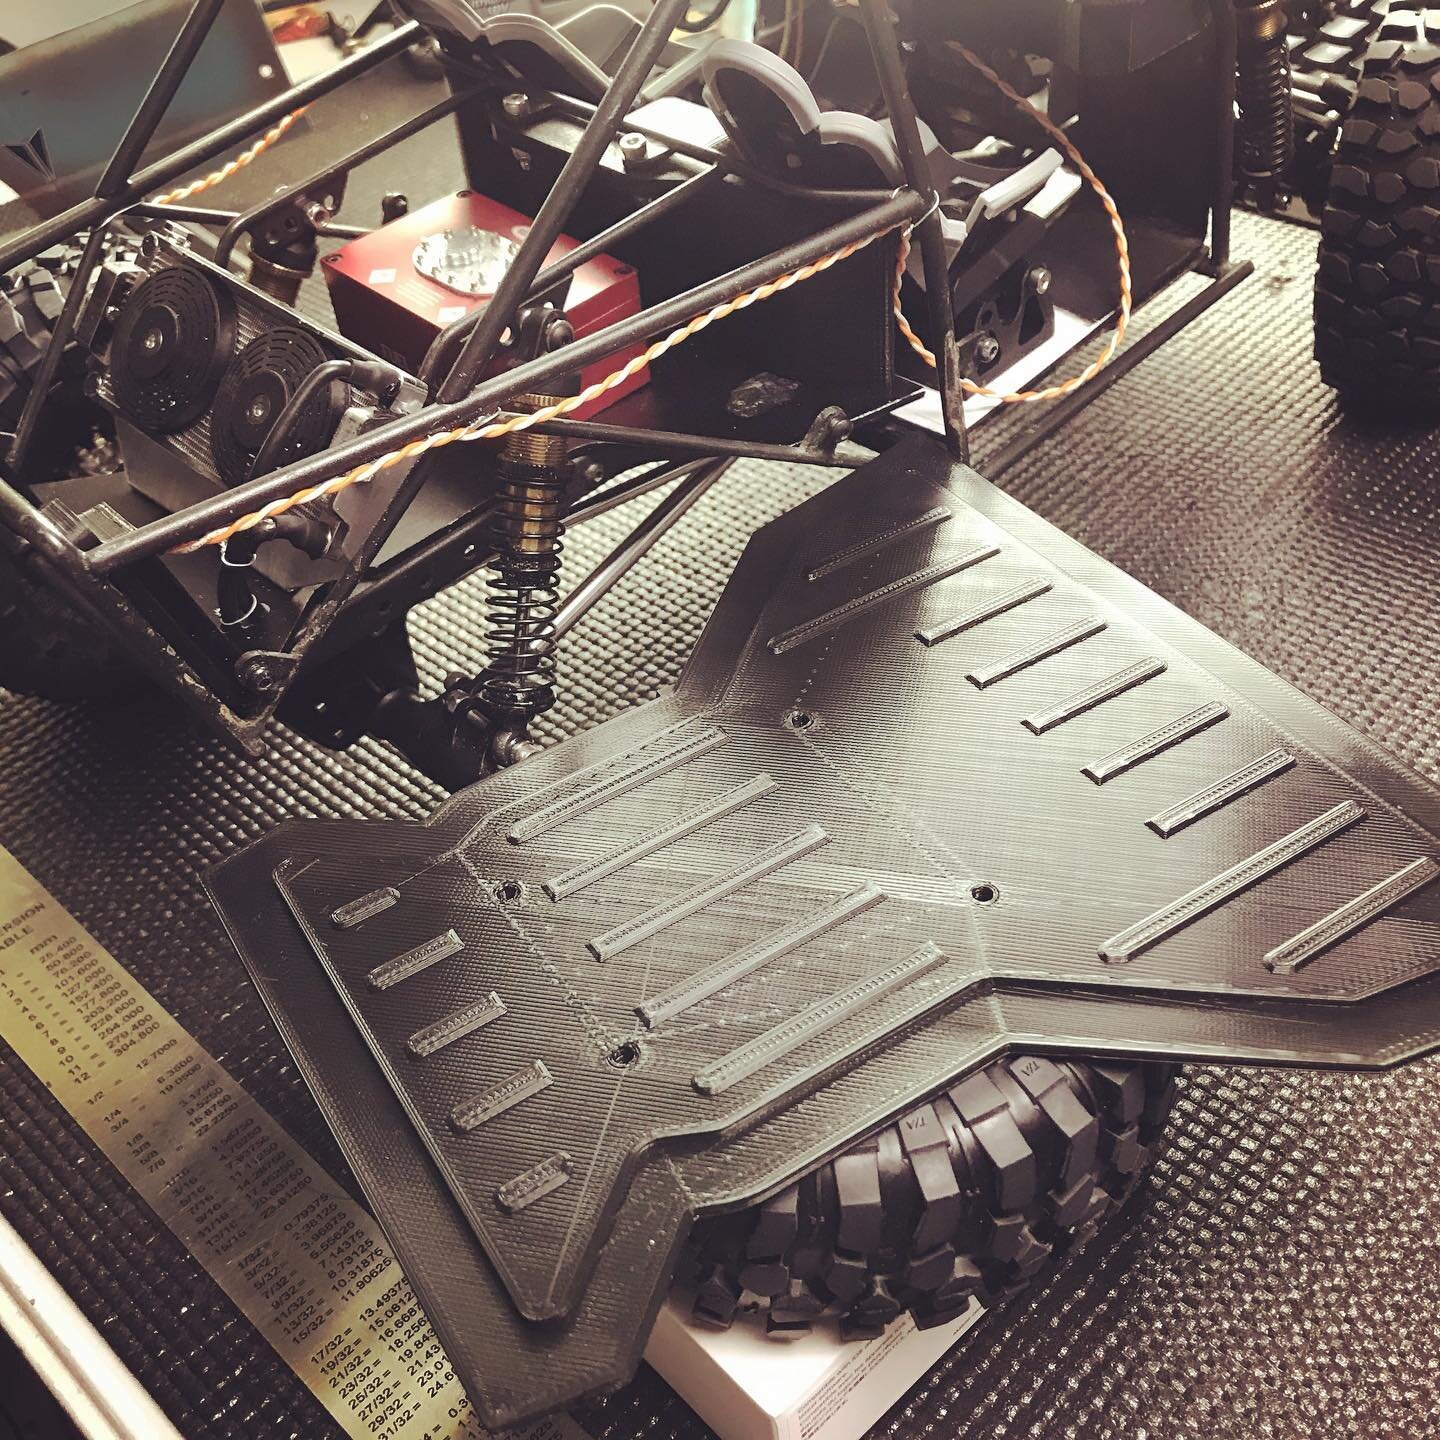
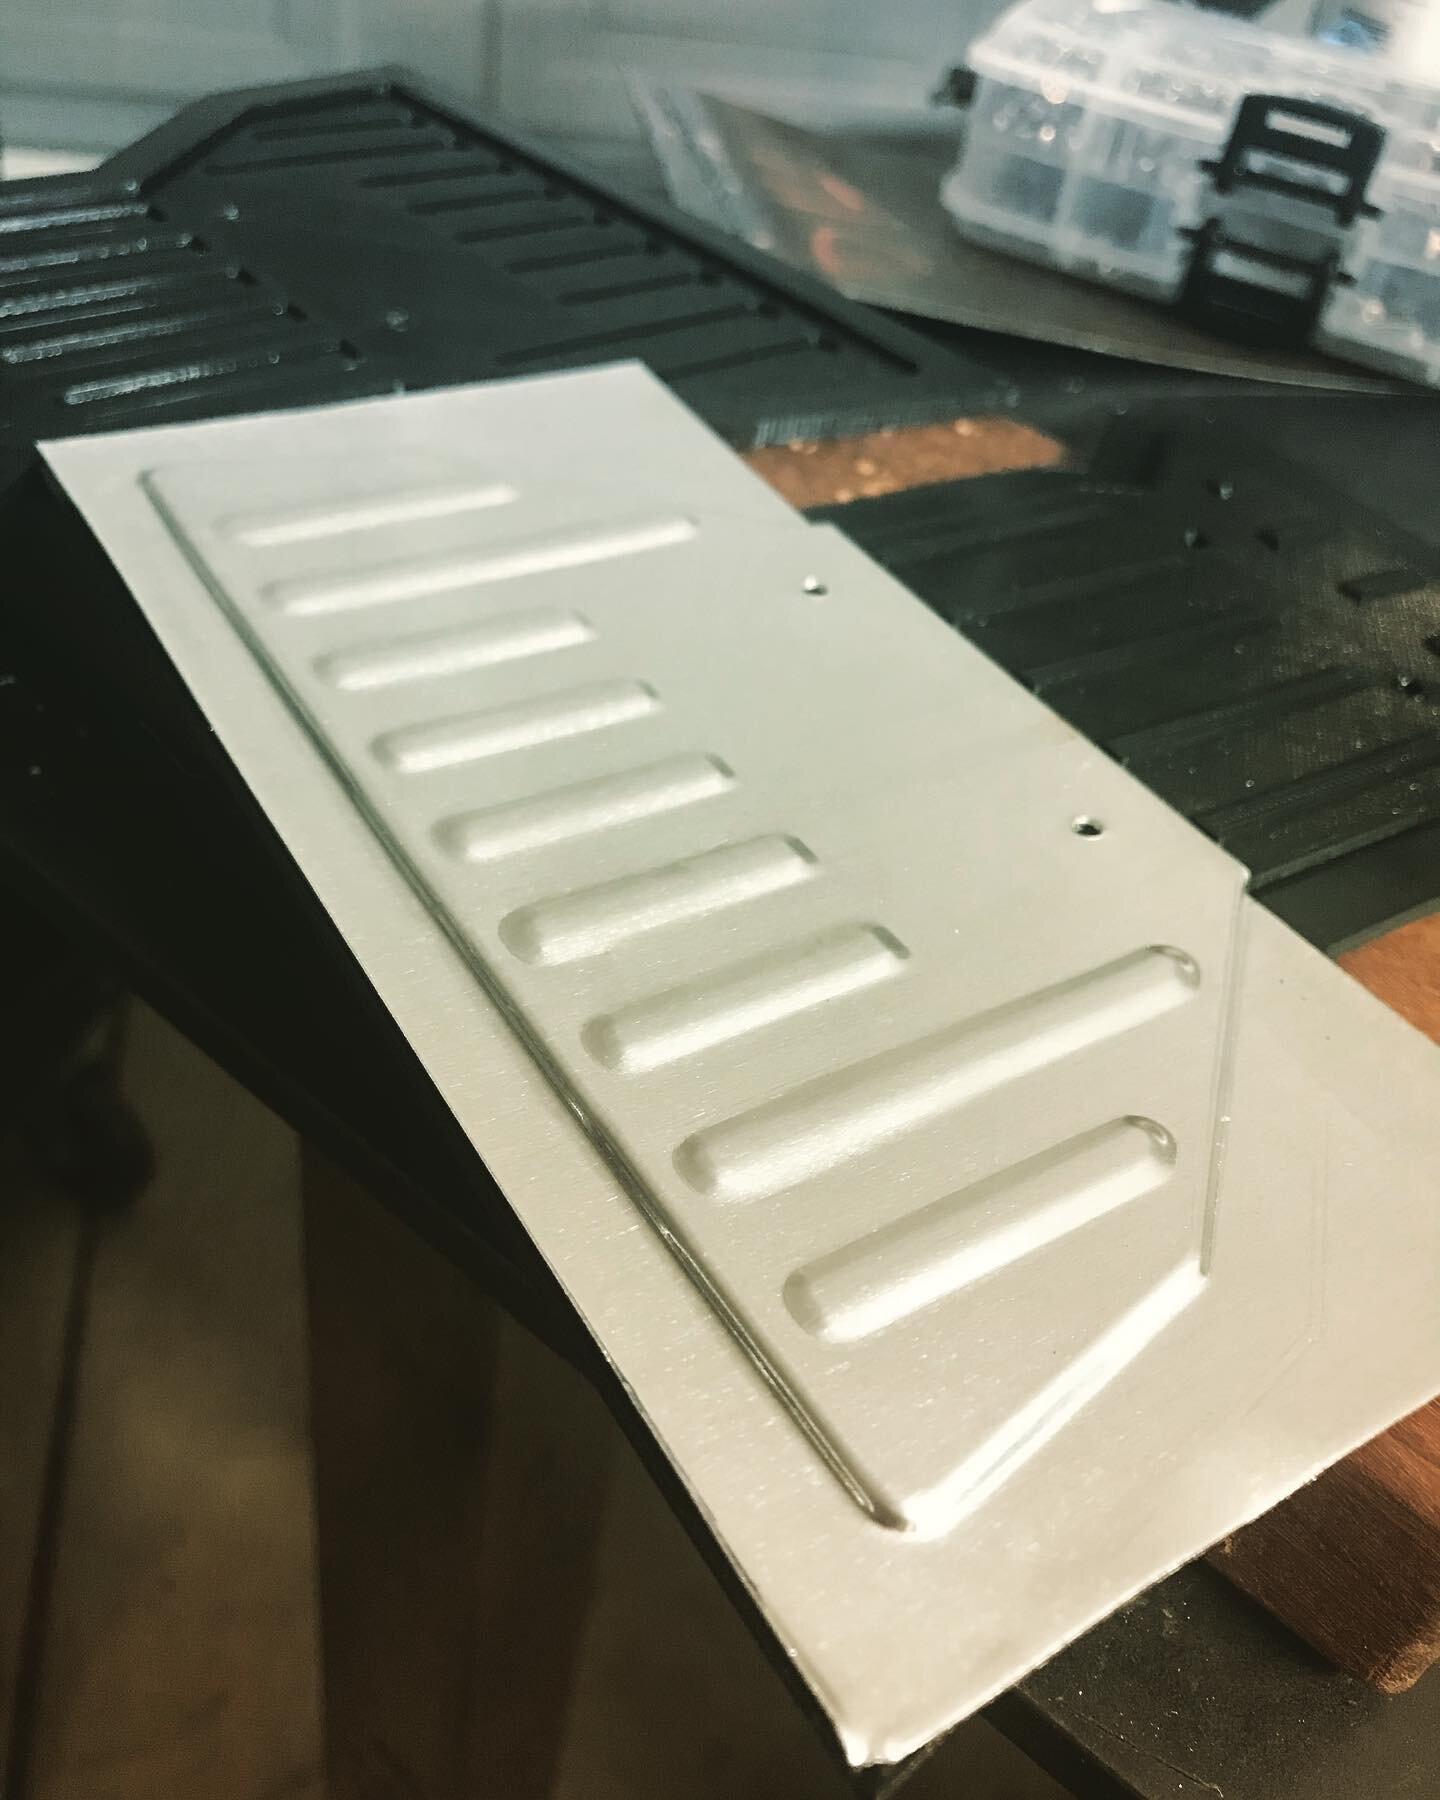
I had been working on refining a process for stamping aluminum using 3D printed tools previous to this build. I decided to implement this technique on several area of this build. There was a gap between the lower windshield bar and the cowl of the hood, so I made a panel that inserted into that area with recessed details which may be similar to a bead rolled panel. I had added some simple aluminum backing panels to the front carbon fiber shock towers previously but the nose of the underhood area was still open, so I made a cap with cutout panels to finish it off. Then the rear cargo area floor was the focus of my attention, completing a detailed pan made the area look so much higher detail than the flat styrene that previous lived in its place. I still have plans for a detailed Dash using this method in combination with a 3D printed face as well.
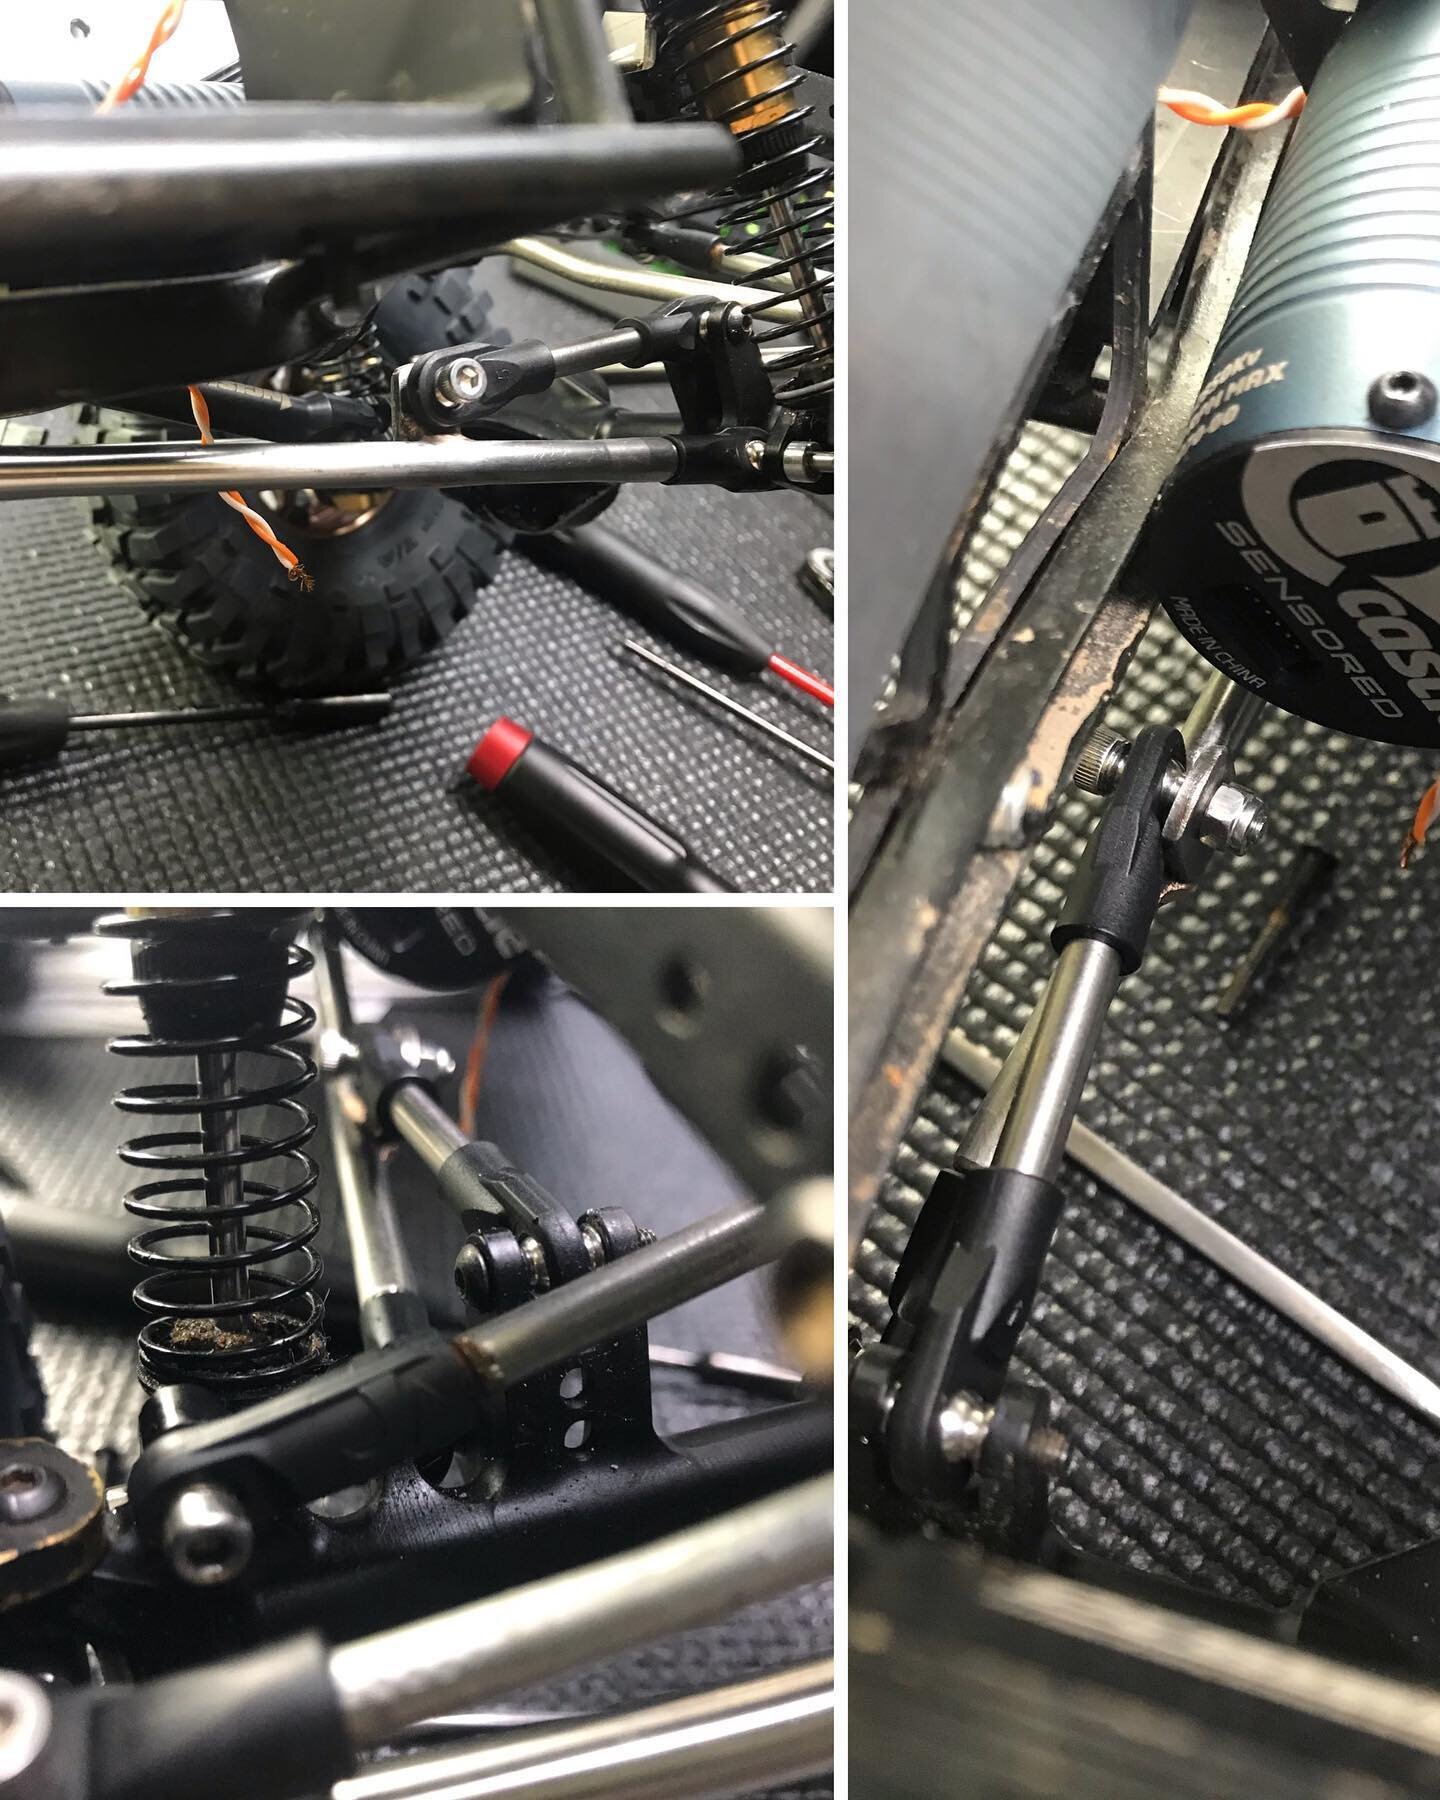
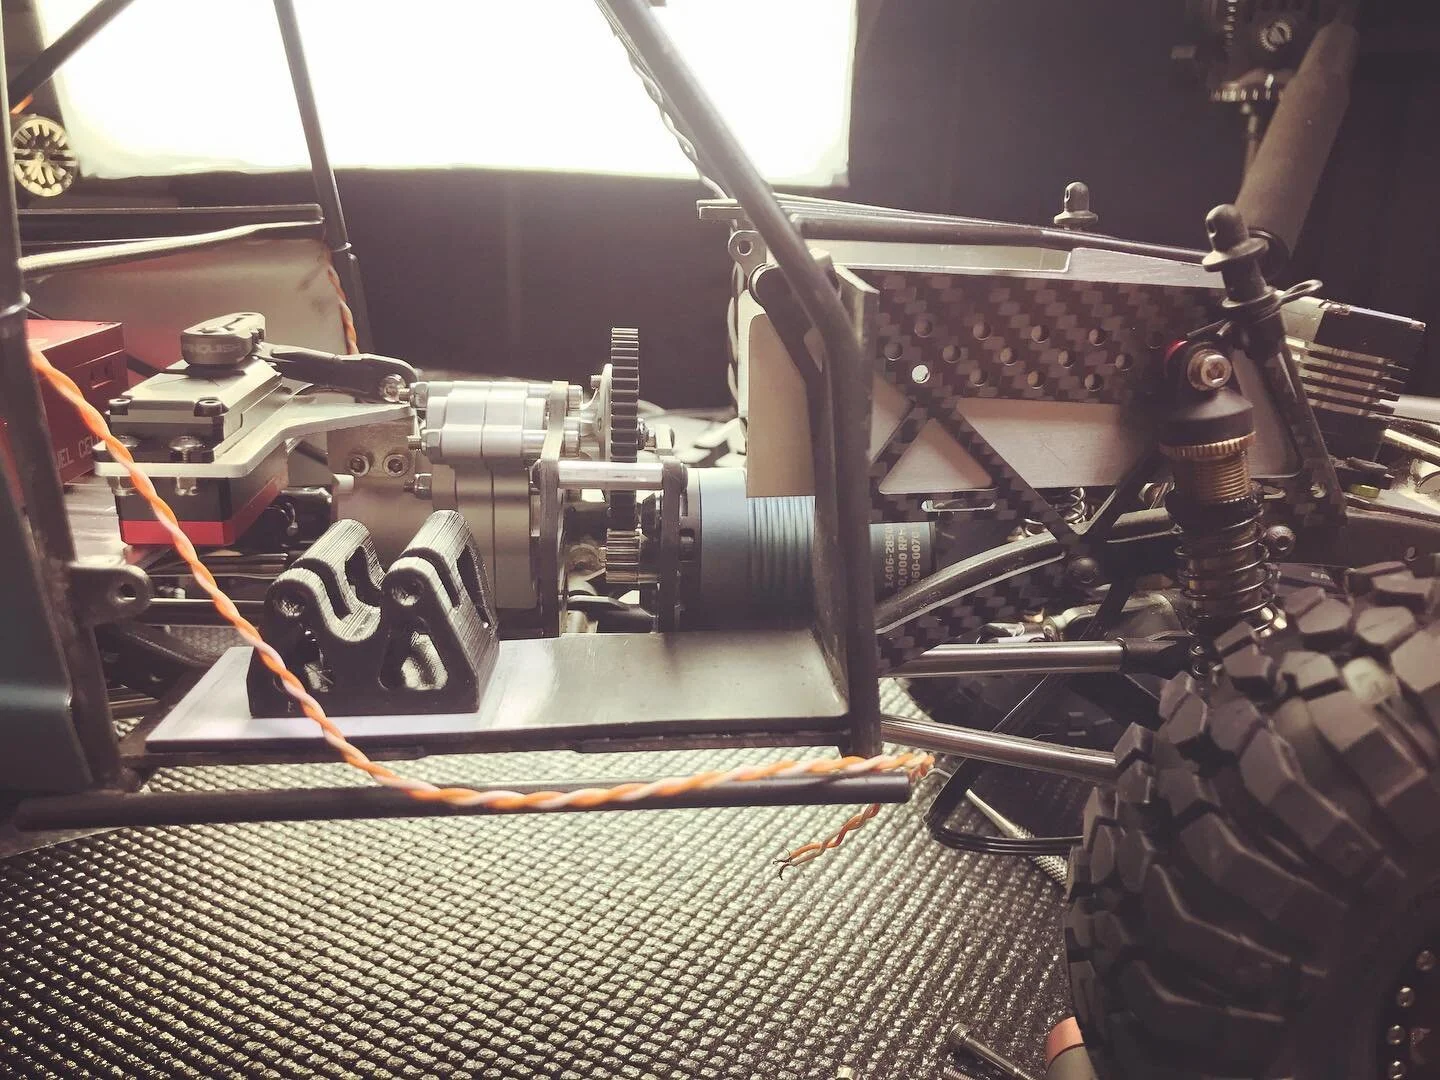
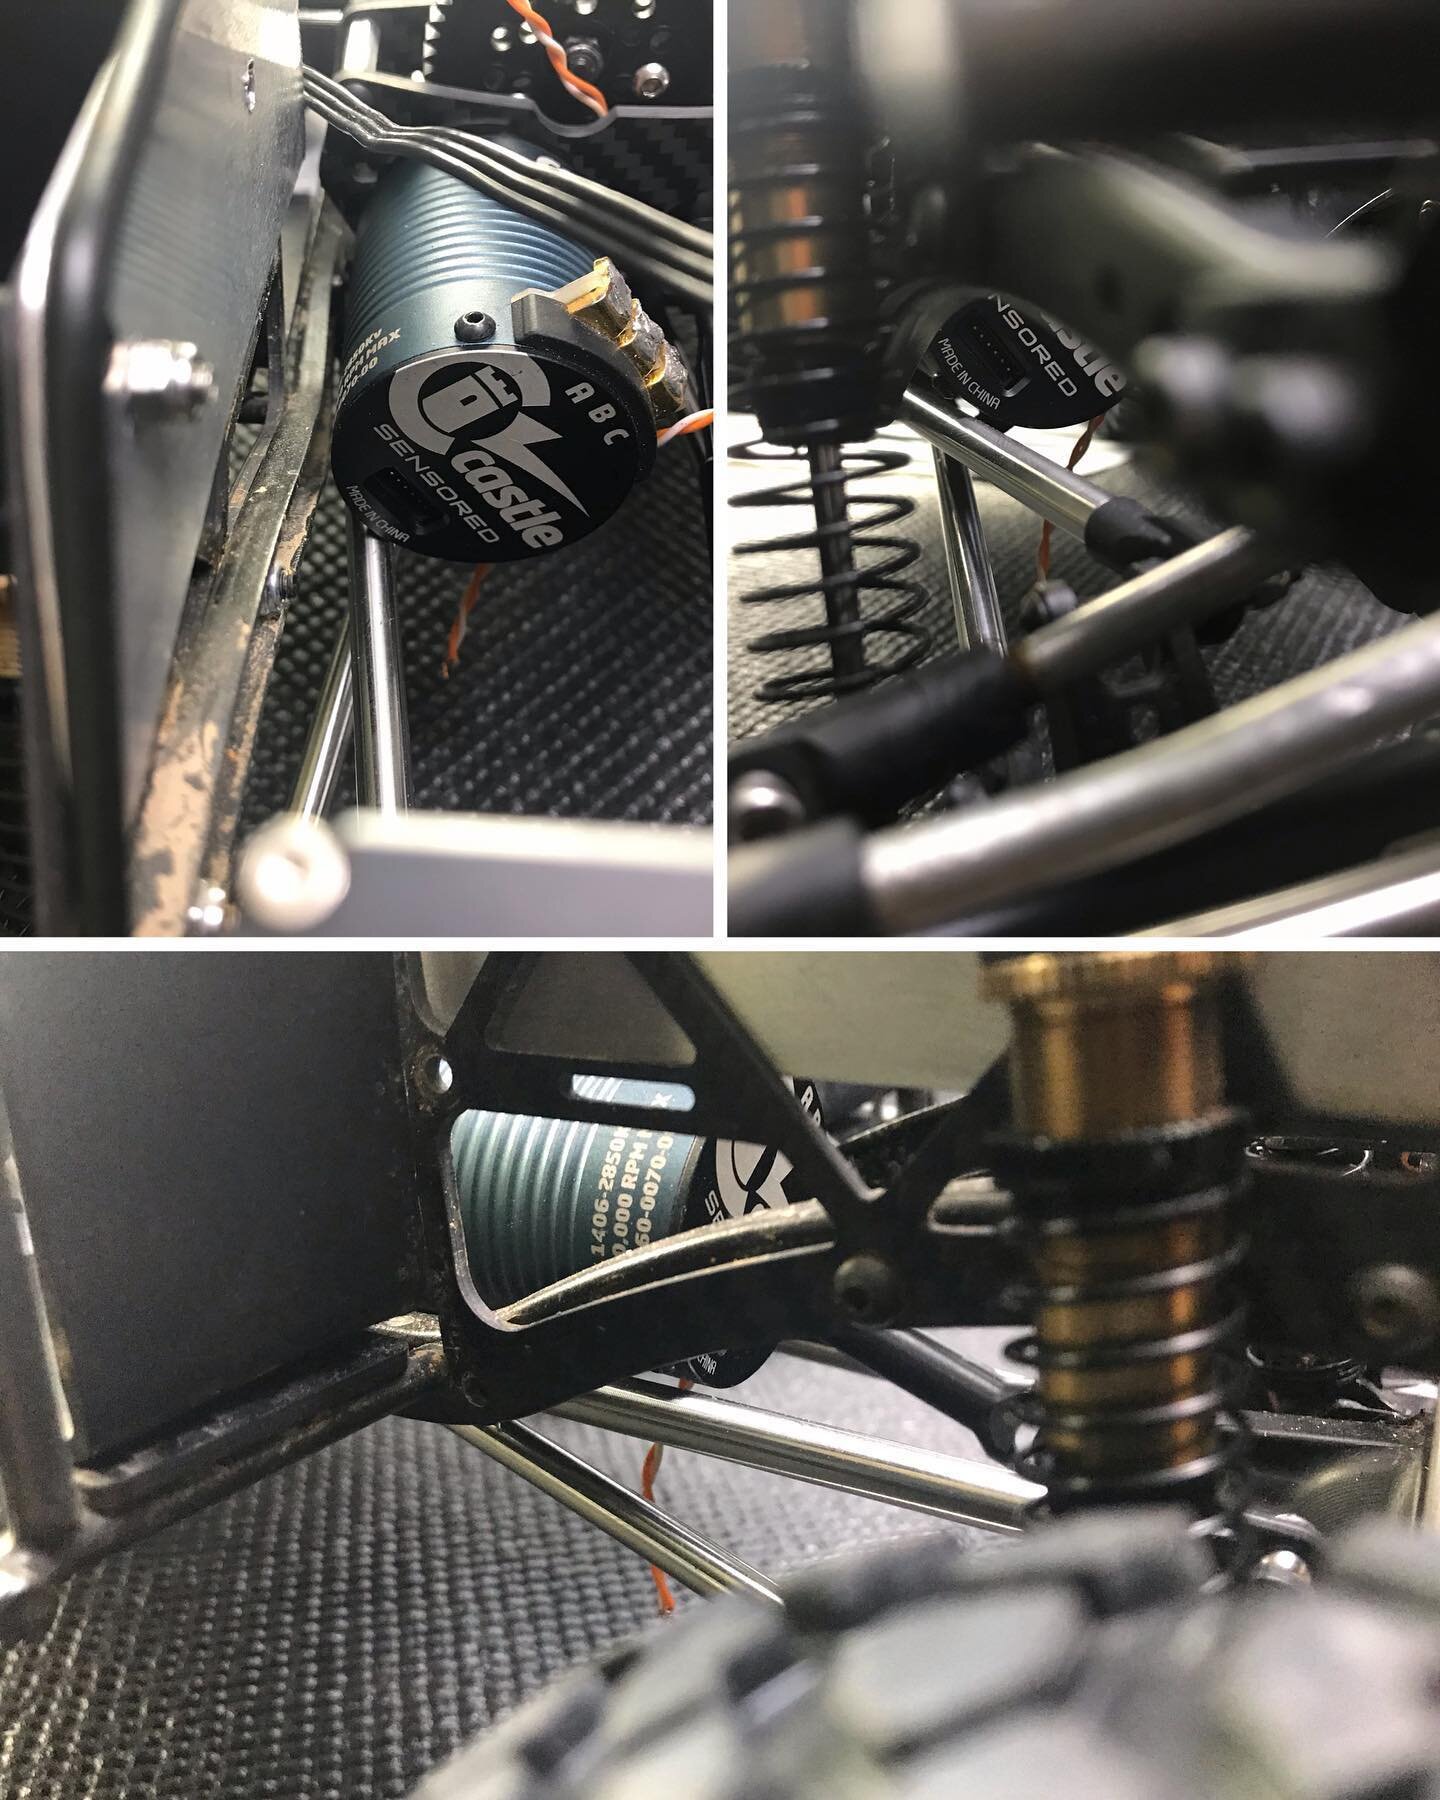
The drivetrain was solid but needed cleaning up if I wanted this to really be an elite tier type vehicle. I replaced the mismatched driveshafts with some Incision shafts. The links were all replaced with Incision Stainless links as well (more on that later). I wanted to add a dig to the transmission, but a dig servo would have intruded into the cargo area, so I picked up a UCFab servo mount to rotate the Tekin Stubby T180 servo. To hide the servo from view, I designed a rear bulkhead to separate the cargo area from the cabin and integrated a center console to help cap it off in the interior. I changed the top shaft to an Incision slipper eliminator and a 50t spur gear to give me more clearance in the interior. Next I added a High Altitude Performance Forward Motor Mount (FMM) but that introduced other issues. Due to the use of the D44 axle, the offset pumpkin design required the upper link to be on the passenger side. That is exactly where the FMM would place the motor. A bent link would not fit, so the easiest option for me was to convert the suspension to a radius arm style design. This involved welding a tab onto the lower link to allow for a short link to attach from the upper mount to this tab. This would control my pinion angle and give me clearance for my motor. Problem solved.
This build is still in construction and constantly evolving!
Build Breakdown:
Base Vehicle: Axial SCX10-2
Body: Proline C10 (narrowed down the middle)
Interior: Custom Designed
Seats: RC4WD PRP Seats
Wheels: Vanquish Products Method 101
Rear Portal Axle: Custom modified VP portal axle, see video
Tires: Proline BFG Krawler G8
Foams: Crawler Innovations Lil Nova 4.75” Tall (Soft front) and Crawler Innovations 1.9 XL Heavy Weight single stage
Motor: Tekin ROC412 3100kv
ESC: Tekin RX4
Servo: Tekin T360
Radio: Futaba 4PV
Receiver: Futaba 2106GF
Batteries: Tattu R-line 4s 1300mah 95c Lipo